

[Don’t forget to check out the other 50+ Thunderbolt 4 Docks]
Thanks to longtime reader /u/Chaftalie, we have some photos of the CalDigit TS4 docking station internals. [Photos used with permission]
CalDigit TS4 feature summary
- 230W PSU
- 1 TB4 rear-facing upstream port with 98W power delivery
- 2x TB4 ports (40Gb/s / 15W)
- 1x DP 1.4 port
- Dual monitor support:
- 2x TB4 or 1x TB4 + 1x DP 1.4
- 1x 8K60, 2x 5K60, 1x 4K144, 1x 3440x1440p180 or 1x 1440p240
- 1x USB-C 3.2 Gen2 (10Gb/s / 20W)
- 2x USB-C 3.2 Gen2 (10Gb/s / 7.5W)
- 5x USB-A 3.2 Gen2 (10Gb/s / 7.5W)
- 3x 3.5mm audio (1x trrs front, 2x trs rear)
- Intel i225 2.5Gb/s Ethernet (only works with TB3/TB4 systems)
- UHS-II SD Card reader
- K-lock
Teardown


PCB analysis


The Primary PCB includes the key chips like the Intel JHL8440 TB4 controller, USB-C PMICs, DC-DC converters, bulk capacitors, flash RAM and USB hub chips. It also houses the upstream TB4 connector, two downstream TB4 connectors, a DisplayPort 1.4 connector, two USB-C 3.2 Gen2 connectors and a DC power barrel jack. It is connected to the secondary PCB with a rigid 50-pin board-to-board connector.
The secondary PCB includes 2 USB hub chips, aCard reader chip, an Intel i225 2.5Gb Ethernet chip, two audio chips, and various USB PMICs. It also houses, the RJ-45 Ethernet jack, five USB-A 3.2 Gen2 ports, three 3.5mm audio jacks, SDcard reader, and an additional USB-C 3.2 Gen2 port. Below I’ve listed the key components:
- Top of Primary PCB labelled CAL85883 Rev 1.0
- Control and power management ICs
- TI T65982DMC Dock management controller https://www.ti.com/lit/ds/symlink/tps65982dmc.pdf
- TI T65988DK Dual port USB-C & PD controller https://www.ti.com/lit/ds/symlink/tps65988dk.pdf
- TI TPS2546 USB charge port controller https://www.ti.com/product/TPS2546
- TI TPS55288 36V/16A buck-boost converter with PPS https://www.ti.com/product/TPS55288
- TI CSD195136KTT N-channel mosfet https://www.ti.com/product/CSD19535KTT
- 2x TI CSD17578 N-channel mosfet https://www.ti.com/lit/ds/symlink/csd17578q5a.pdf
- TI TPS51397A 10A Buck converter https://www.ti.com/lit/ds/symlink/tps51397a.pdf
- Pericom/Diodes Inc PI3DBS12212A 12Gbps 4->2 mux/demux https://www.diodes.com/part/view/PI3DBS12212A?BackID=2466
- 4x Winbond 25Q80DV 8Mb flash https://www.winbond.com/resource-files/W25Q80DV_revJ_05132021%20Plus.pdf
- Feature ICs
- Intel JHL8440 Thunderbolt controller https://ark.intel.com/content/www/us/en/ark/products/189982/intel-jhl8440-thunderbolt-4-controller.html
- Fresco Logic/ParadeTech FL5500-2F0 6-port USB 3.2 Gen2 hub controller https://www.paradetech.com/products/fl5500-6-port-usb-3-2-gen-2-hub-controller/
- Fresco Logic/ParadeTech FL5801-2Q2 5-port USB2 port expander https://www.paradetech.com/products/fl5801-tbt4-usb4-port-controller/
- Fresco Logic/ParadeTech FL7112-2Q0 USB-C PD 3.0 controller https://www.paradetech.com/products/fl7112-usb-type-c-pd-3-0-controller/
- for front-facing 20W USB-C port
- Connectors & headers:
- 2x USB-C
- 2x TB4 downstream
- 1x TB4 upstream
- 1x DP 1.4
- 1x DC barrel jack
- vacant 40-pin header for data ribbon cable receptacle?
- vacant 8-pin header for power cable?
- vacant 5-pin header for illuminated front-facing switch?
- Control and power management ICs
- Bottom of Primary PCB
- 50-pin connector https://www.molex.com/molex/products/family/slimstack_fine_pitch_smt_board_to_board_connectors?parentKey=board_to_board_connectors
- 8x CapXon 100uF 25V Pm121 solid capacitors http://www.capxongroup.com/files/PM_Series.pdf
- TI TPS51397A 10A Buck converter https://www.ti.com/lit/ds/symlink/tps51397a.pdf
- Top of Secondary PCB labelled CAL-85883DB Rev 1.0
- Control and power management ICs
- 3x WinBond 25Q16JV 16Mb flash https://www.winbond.com/resource-files/w25q16jv%20spi%20revh%2004082019%20plus.pdf
- Macronix 25V1006F 1Mb flash https://www.macronix.com/Lists/Datasheet/Attachments/7430/MX25V1006F,%202.5V,%201Mb,%20v1.0.pdf
- 2x TI TPS51397A 10A Buck converter https://www.ti.com/lit/ds/symlink/tps51397a.pdf
- 3x TI TPS2546 USB charge port controller https://www.ti.com/product/TPS2546
- Feature ICs
- Genesys Logic GL3231S USB 3.1 Gen 1 dual LUN SDCard reader http://www.genesyslogic.com/en/product_view.php?show=84
- CMedia CM6533 Audio #1 https://www.cmedia.com.tw/products/USB20_FULL_SPEED/CM6533N
- Intel i225 S1093L42 2.5GbE https://ark.intel.com/content/www/us/en/ark/products/184676/intel-ethernet-controller-i225v.html
- Connectors & headers
- RJPAL1-5J23-M10-0H RJ-45 Ethernet jack with integrated transformers
- 2x vacant 10-pin headers
- micro-SD card reader
- 3x 3.5mm audio jacks
- 5x USB 3.2 Gen2 ports
- 1x USB-C port
- Control and power management ICs
- Bottom of secondary PCB
- 2x Fresco Logic/ParadeTech FL5500-2F0 6-port USB 3.2 Gen 2 hub controllers https://www.paradetech.com/products/fl5500-6-port-usb-3-2-gen-2-hub-controller/50-pin receptacle
- CMedia CM6533 Audio #2 https://www.cmedia.com.tw/products/USB20_FULL_SPEED/CM6533N
- https://www.molex.com/molex/products/family/slimstack_fine_pitch_smt_board_to_board_connectors?parentKey=board_to_board_connectors
- Full size SD card reader
- 3x CapXon 100uF 25V Pm121 solid capacitors http://www.capxongroup.com/files/PM_Series.pdf
Physical Topology
- TB4 Upstream port
- Intel JHL8440
- TB4 downstream port #1
- TB4 downstream port #2
- 50-pin connector (PCIe x1 channel to secondary PCB)
- Intel i225 2.5GbE
- RJ-45 Ethernet jack with integrated transformers
- Intel i225 2.5GbE
- Pericom/Diodes Inc. PI3DBS12212A 12Gbps 4->2 mux/demux
- DisplayPort 1.4
- Fresco Logic/ParadeTech FL5801-2Q2 5-port USB2 port expander
- TI T65982DMC Dock management controller
- SPI connections to flash chips
- TI T65982DMC Dock management controller
- Fresco Logic/ParadeTech FL5500-2F0 6-port hub controller #1
- USB-C port #1 (front)
- USB-C port #2 (front)
- 50-pin connector to secondary PCB (2x USB 3.2 Gen2 channels)
- Fresco Logic/ParadeTech FL5500-2F0 hub controller #2
- 2x USB-A 3.2 Gen2 ports (rear)
- USB-C port #3 (rear)
- CMedia CM6533 Audio #1 (top of PCB)
- 2x 3.5mm trs jacks (rear)
- Fresco Logic/ParadeTech FL5500-2F0 hub controller #3
- 2x USB-A 3.2 Gen2 ports (rear)
- USB-A 3.2 Gen2 port (front)
- Genesys Logic GL3231S USB 3.1 Gen1 SDCard reader
- SD card slot
- microSD card slot
- CMedia CM6533 Audio #2 (bottom of PCB)
- 1x 3.5mm trrs jack (front)
- Fresco Logic/ParadeTech FL5500-2F0 hub controller #2
- Intel JHL8440
Comments and final thoughts
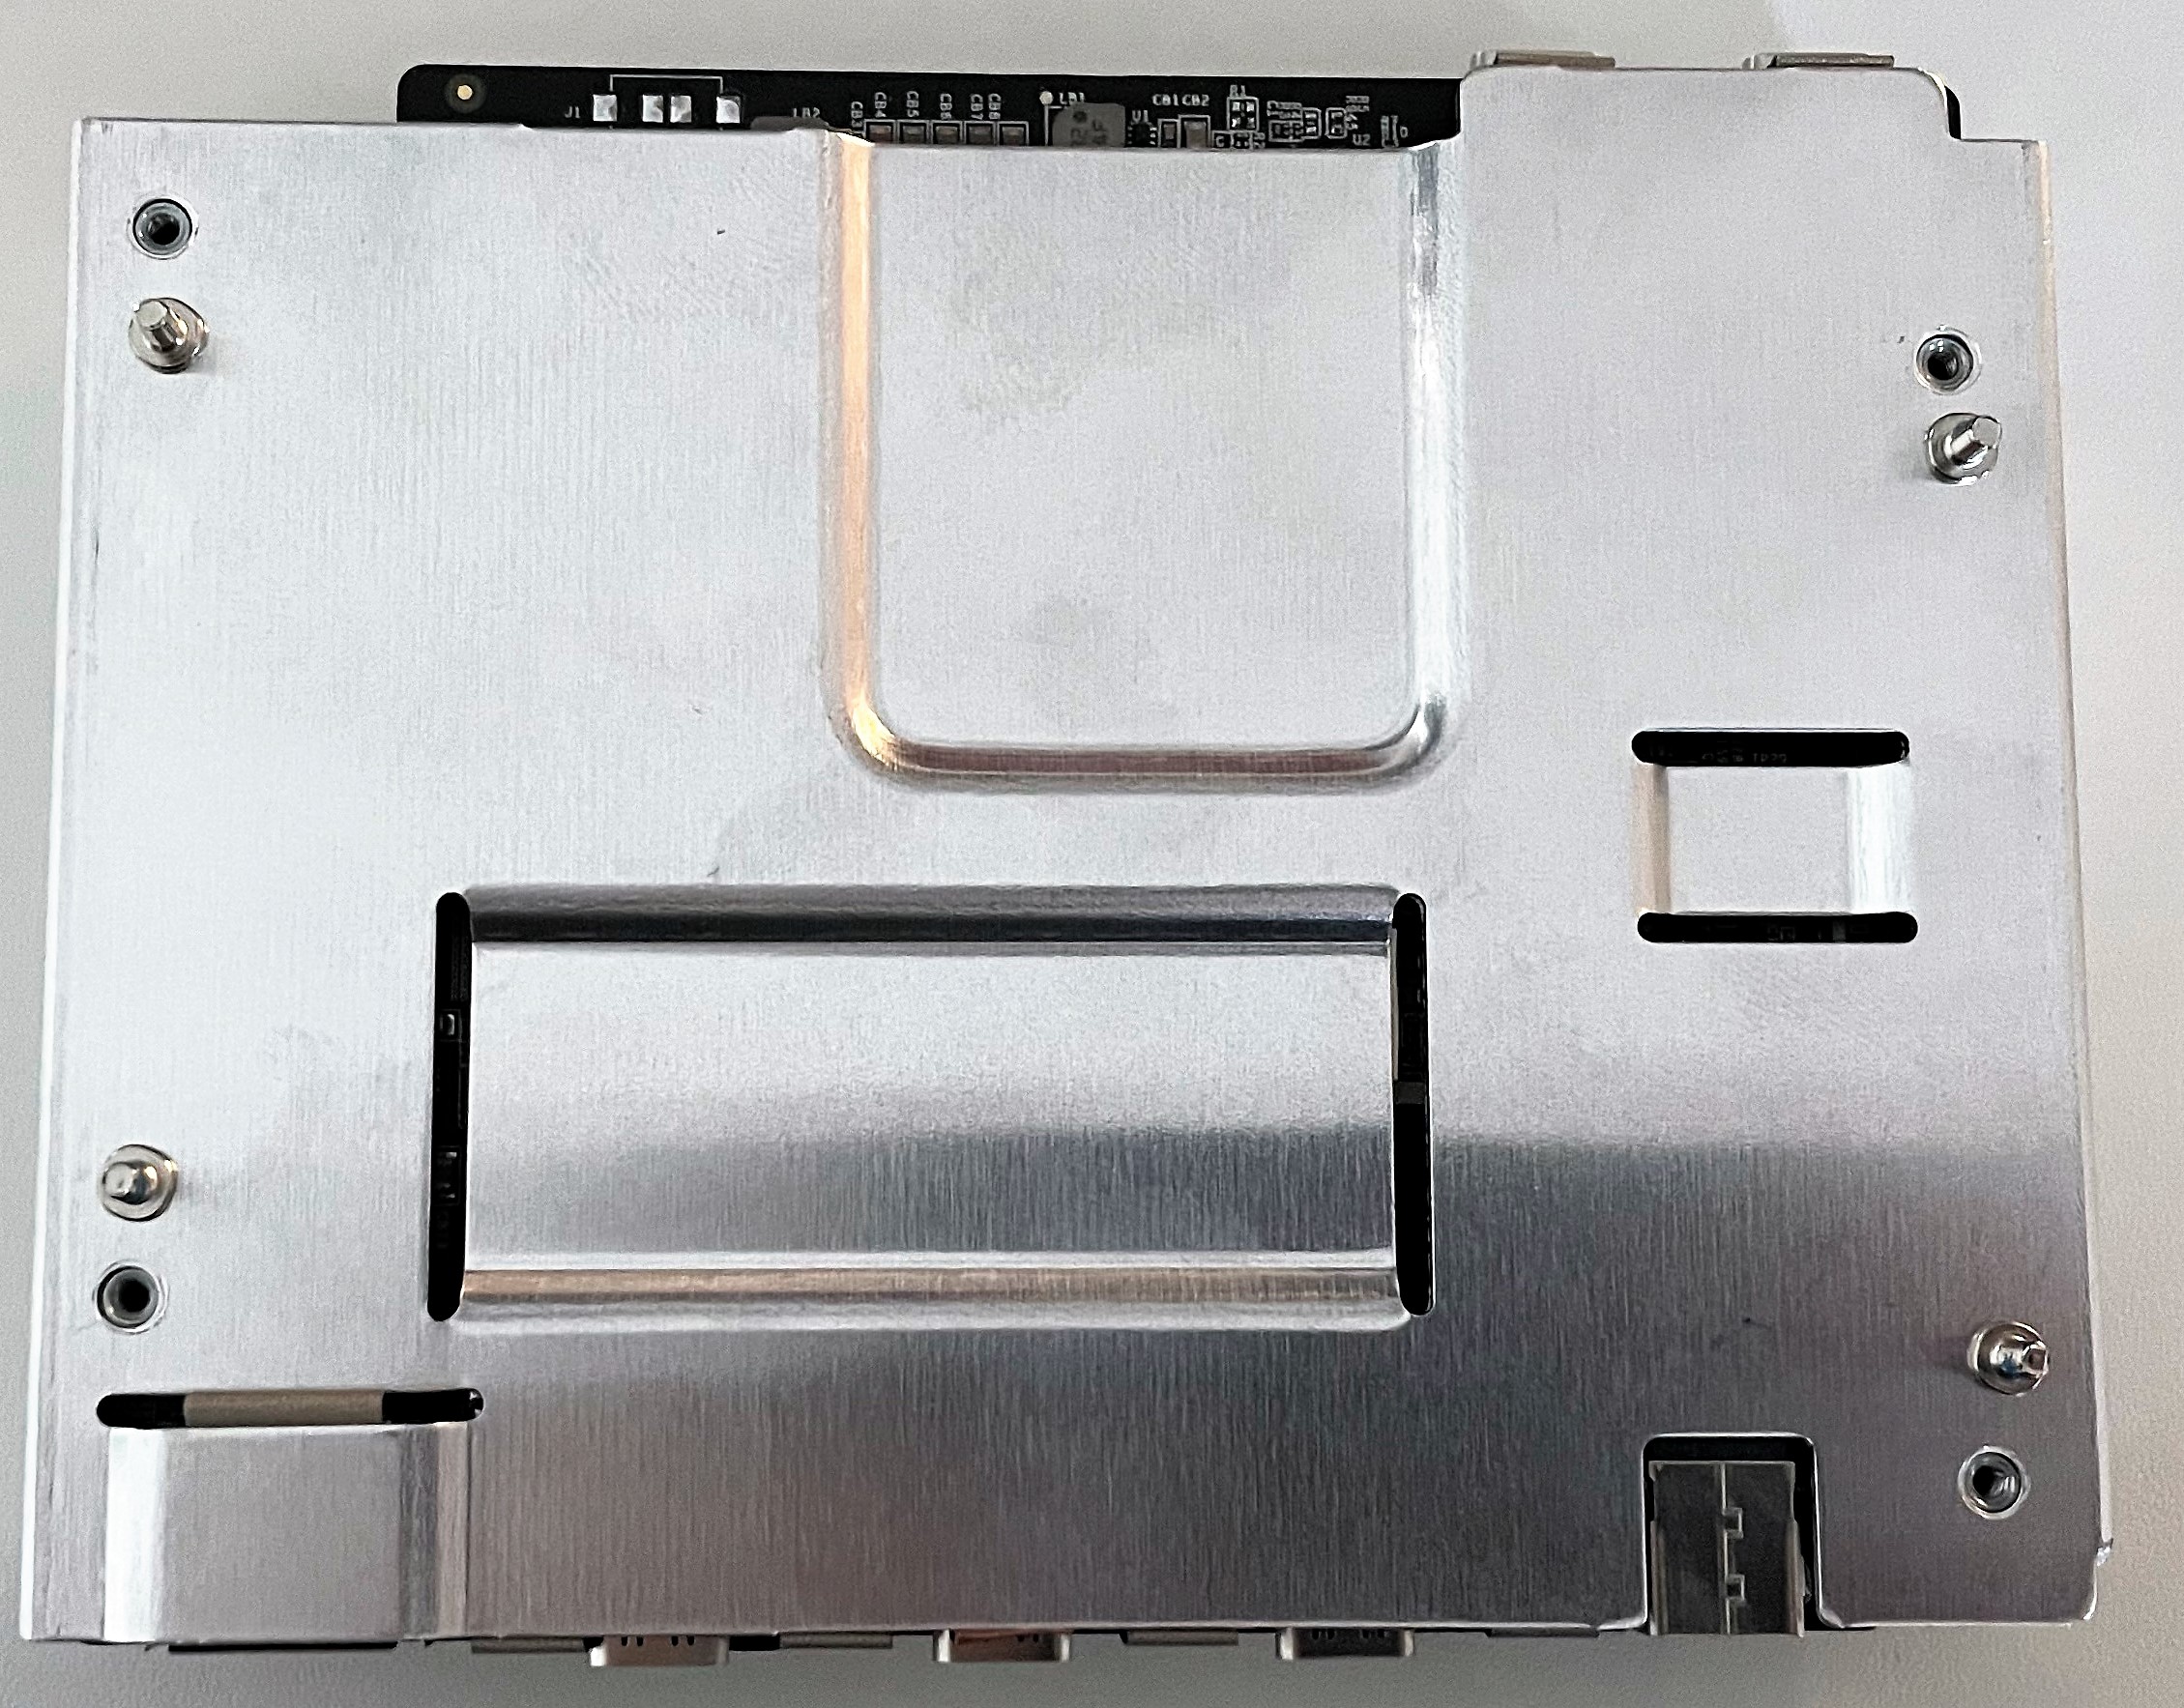
As always, CalDigit’s construction and design is impressive. CalDigit is not afraid to use exposed fasteners making repairs simple. Unlike its competitors, CalDigit is serious about power delivery by providing a 230W PSU and placing USB-C PMICs and DC-DC convertors across both PCBs close to the ports. Users should have no problems connecting multiple external HDD, SSD, 10GbE, cellphones, or other devices to draw the full rated power.
The lack of an MST chipset is surprising with a device offering so much functionality as it limits users to only two displays (additional displays can be connected via DisplayLink USB video extender technology). Still, 1x 8K60 or 2x 5K60 support is more than enough for most folks in the target market – many of CalDigit’s customers are Mac users where MST isn’t supported anyway. Curiously, there are two CMedia CM6533 audio chipsets – one for the rear ports and one for the front. According to CalDigit’s documentation, front and rear can’t be used simultaneously so I don’t understand why there are two chips. The CM6533 documentation states that it has configurable topology for headset (trrs) vs mic/speakers (2x trs) and I2C/GPIO support, so presumably a hardware switch inside the 3.5mm jack could be used change modes. Perhaps firmware updates will enable all 3 audio jacks to work together to support surround speakers or subwoofers.
Unlike the competing Lenovo which is cross-marketed to USB-C and Thunderbolt 4 laptops, CalDigit does not include a USB-based Ethernet chip to run alongside the PCIe-based Intel i225 2.5GbE solution. This means USB-C systems won’t get Ethernet functionality. But the dual PCB design enables CalDigit to bring future devices with different port configurations to market with minimal re-designs. Perhaps we’ll see a device with 1GbE or even 10GbE.

Hi Danchar, wonderful teardown post.
Ethernet port is provided by intel I255, it seems like the PCIe Gen3 x1 link is included in this board-to-board special header, just similiar to the OWC mini Stack.
There might be possibility to mod this dock into ……. some kind of NVMe device or maybe x1 bandwith eGPU?
LikeLike
Thanks for this teardown, really helps to understand what I might be buying 🙂
One question, though: Do you have a sense for how much power this dock uses on its own? So far, I’ve been able to keep the power usage of my laptop and everything attached to it fairly minimal, but with this hefty 230W power brick, I’m slightly afraid that this dock will add tens of Watts to this, even when nothing’s attached. Do you have any idea? Same question for the Lenovo TB4 dock you did a teardown of, btw, that’s also one I’m considering.
LikeLike
On paper, all the chips on the PCB could consume up to 20W, but I doubt they do in typical operation. It’s probably more like 5-10 watts in typical use with keyboard/monitors/mouse.
Connecting PSU/monitor/mouse/keyboard direct to the laptop will use less power, but it’s only going to be that 5-10W difference – not a big deal in the grand scheme of things.
LikeLike
Ok, that should indeed be acceptable. Thanks for following up!
LikeLike
I also have this dock and did an exhaustive scan of the logical USB topology, which seems to differ from yours a bit (for example, the 4 USB-A ports are divided over two hubs, not one). If you’re interested, here’s the details: https://community.frame.work/t/usb-c-thunderbolt-dock-megathread/1460/204?u=matthijs_kooijman
LikeLike
Thanks for sharing that. I didn’t have the Caldigit in hand for testing and was just supplied the photos for analysis and I missed some details.
I went back and looked at the traces to the USB ports and your USB tree is correct for the 2nd-level USB hubs so I’ve updated my post accordingly.
LikeLike
Such a great post over on frame.work. It’s interesting that you mention USB port selection for things like keyboard and mouse. This is helpful really helpful.
LikeLike
Thanks!
LikeLike
I’m also interested to know the method to map the topology. When I look at my own hubs using USBTreeView, it isn’t clear what the physical connectivity is.
LikeLike
I’ve used
lsusb --treeunder Linux to see the tree structure of the USB hubs (i.e. connectivity between hubs), and then just plugged in some dummy devices into different ports in turn and checked where in the tree it showed up to map physical ports to USB hub ports. I guess you can do the same with USBTreeView (though I have no experience with that).LikeLike
That’s helpful, thank you. I am currently using an ‘Anker PowerExpand 5-in-1 Thunderbolt 4 Mini Dock’, with daisy chained ‘DockCase USB C Visual Smart Hub 8-in-1’ behind it for all my USB connections, including embedded USB Ethernet. The other two TB4 ports on the Anker have displays. I continue to suspect overall reliability of USB based Ethernet and frequently updating the Realtek driver as they are released. I’ve experienced some major keyboard performance issues, that I describe as ‘the ghost in the machine’, which have always seemed to be unsolvable. Before adding the Dockcase I was using super cheap USB C dock, in the same configuration. I am of the mind that understanding the physical topology might be beneficial. You comment about being careful where you connect slower devices was super interesting as instantly resonated with me.
LikeLike
Availability update: https://www.caldigit.com/an-update-on-ts4-availability/
LikeLike
Hi, does anyone know whether the 3 Thunderbolt Ports (1 upstream and 2 downstream) on the Caldigit TS4 Dock are sharing just one Thunderbolt 4 chip onboard, or they each have their own Thunderbolt 4 chip?
I need the information to make a buying decision because as a newer product, i.e. the Ivanky Fusion Dock, come with two Thunderbolt 4 Chips onboard (per the spec published on their webpage).
LikeLike
The Inavky dock has dual TB4 chips as requires two wires to the laptop. It’s basically two docks in one unit. Whereas the Calldigit single wire to the laptop. As a point of comparison TB3 eGPU (PCIex4) would incorporate two TB3 chips for a single wire when there were downstream USB ports for things like a mouse. This was a practice to ensure the mouse maintained normal performance. Because TB4 doesn’t support PCIex4 devices, just PCIex1 devices, this is no longer a practice.
The CallDigit is the king of docks for sure.
But if you want two wires and the specific port combination then go for the Ivanky. I can’t speak for the components or heat characteristics.
LikeLike
Hi, thanks for the information/update. So in short, Ivanky will have two dedicated TB4 chips “bandwidth” to be shared among its 20 ports, whereas Caldigit TS4 have only one TB4 chip “bandwidth” to be shared among its 18 ports, am I right? So technically, Ivanky should have better bandwidth and transfer speed when compared to Caldigit TS4, right?
Well, despite Ivanky might seem technically better in terms of the number of TB4 chips, however, I will still go for Caldigit TS4 on concern that Ivanky is designed and made by a China company (to avoid potential risk of being tapped/hacked).
LikeLike
Also the Ivanky is a proprietary wire designed for specific Mac books that have two TB4 side by side at a specific distance. This does preserve a single wire, but it’s technically still a two wire in an umbilical cord.
LikeLike
FWIW, you can use the iVanky on a PC with 2 separate Thunderbolt cables – but the combined bandwidth is still 40Gb/s and max monitor support is 4x 4K60. It’s possible to design a PC mainboard with dual JHL8540 chips (or ASMedia USB4 equivalent) but this is rare. I think the newer FrameWork laptops have two controllers so if you plug one cable into left side and one cable into right-side you’ll get 80Gb/s aggregate bandwidth.
For this 4x 6K60 scenario, Apple and iVanky really knocked it out of the park since its 1 connection on one side of the device.
LikeLike